Whether self-built shelves or tables, wooden garden furniture or vintage furniture from the flea market – paints and glazes quickly give furniture a new character. In this guide, you’ll learn how to implement your own designs with brushes and rollers, which paint is the right one, and how to paint furniture.
How can furniture be painted correctly?
Depending on the condition of the furniture piece and desired appearance, you first select a paint. Natural resin, synthetic resin, and acrylic paints or glazes are suitable for painting furniture. To achieve high opacity, two coats are usually optimal. Before painting, ensure that the surface is free of dust and grease. Already painted furniture pieces should be stripped or sanded before applying the new paint. Also, allow yourself enough time for your project.
Can coated furniture be painted?
If you want to paint coated furniture, we recommend treating the surfaces beforehand. Paint should be sanded or stripped in any case before applying a new color. Chalk paints are an exception: before painting, you only need to clean the surface of dust and grease. Chalk paints can be applied directly on old layers of paint and wood veneers.
Painting wooden furniture colorfully
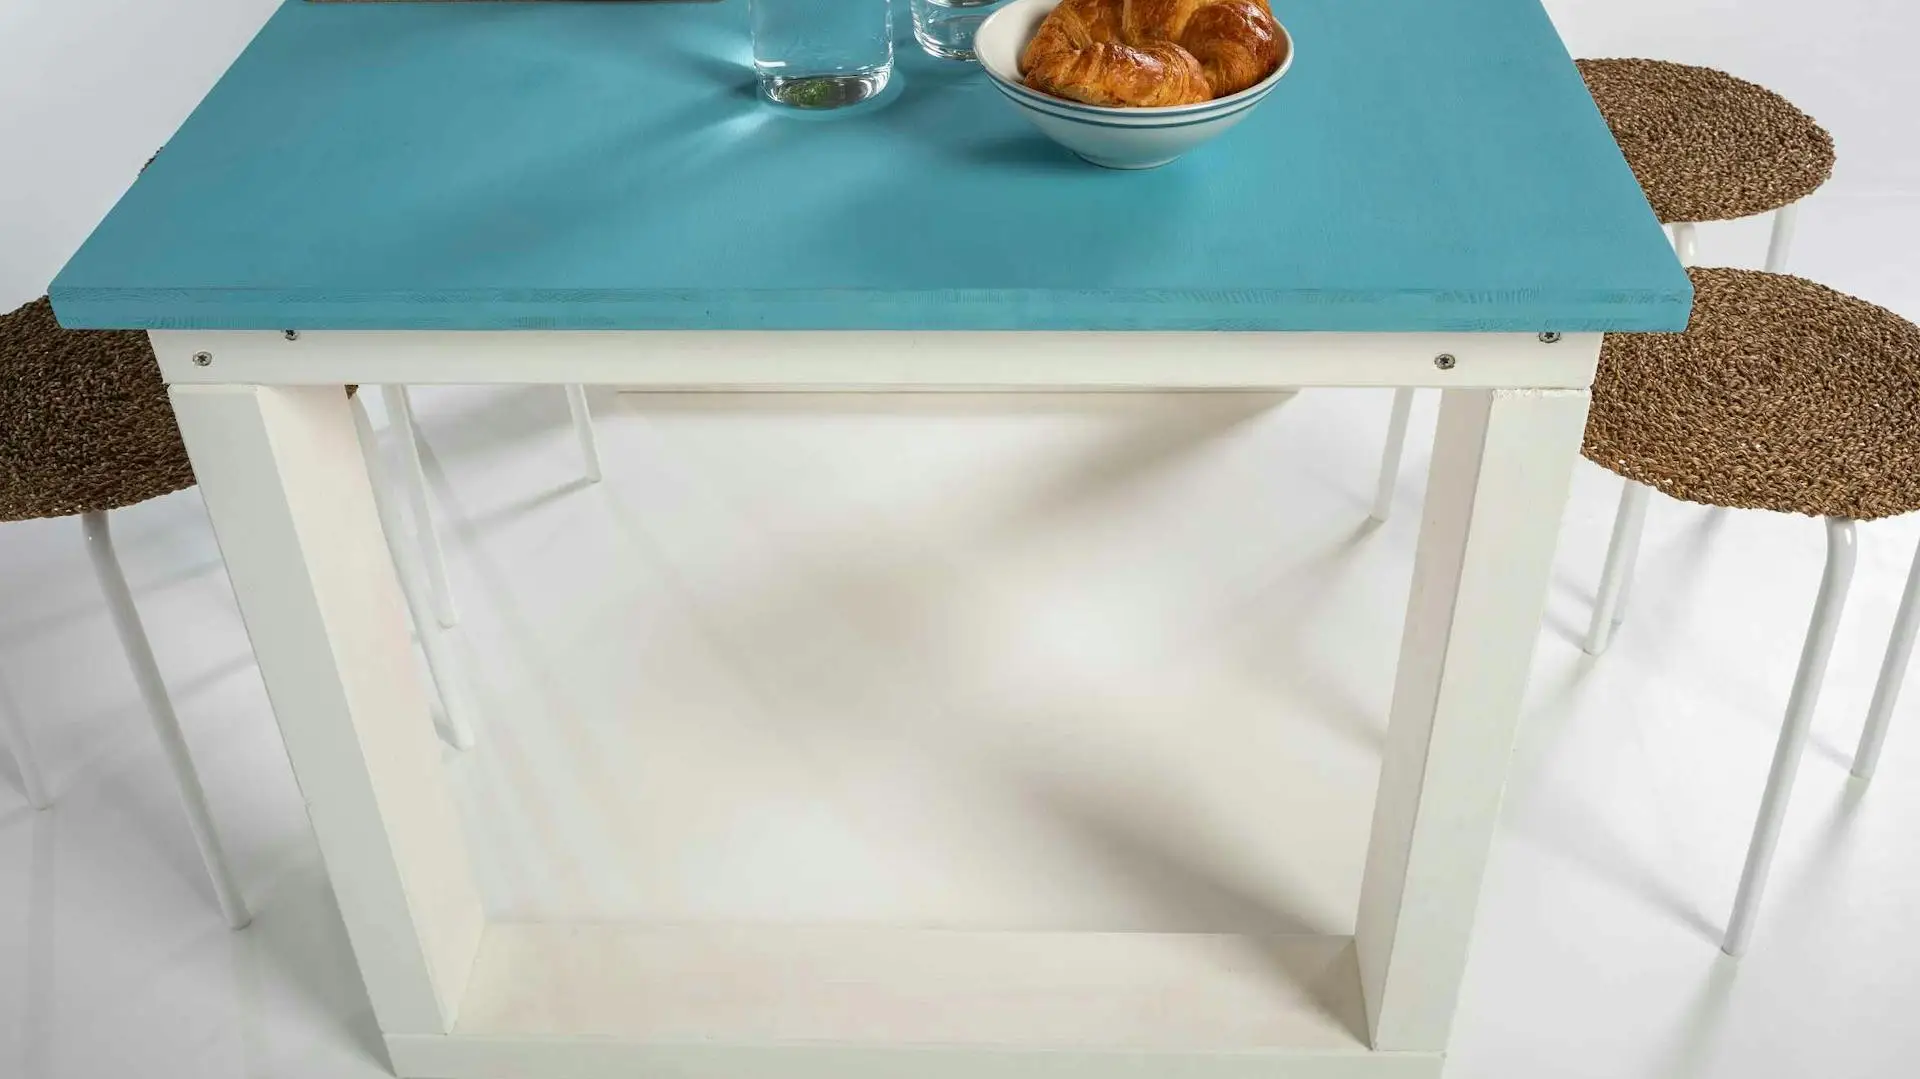
Furniture pieces can be painted or glazed in different ways: whether you paint everything colorfully or just paint certain parts in a different color is up to you and your imagination.
A custom color design especially completes the individual character of a self-built piece of furniture: If you use several colors, you can highlight the modular construction of a shelf, for example. You can add flair to a simple wooden bench by painting only the lower part in a color of your choice. The same applies to a wooden shelf whose insides you paint in a different color.
Paint or glaze – which color is the right one?
For wood and wood materials such as MDF boards as surfaces, there is a large selection of natural resin, synthetic resin, and acrylic paints.
Natural resin paints are the first choice for environmentally conscious DIYers, although they may still contain solvents. The disadvantage of natural resin paints is their longer drying time.
If you need a particularly resistant top coat, choose a solvent-based synthetic resin paint. Synthetic resin paints are easy to work with and also have very good coverage. In addition, they are extremely resistant and particularly suitable when the paint will be heavily used later. For environmental and health reasons, look for aromatic-free synthetic resin paints.
Acrylic paints impress with high opacity, long life span, and a durable protective layer. They can be diluted with water and are comparatively low in odor. The water-dilutable, low-pollutant acrylic paints are well suited for most surfaces indoors and outdoors – including furniture and children’s toys.
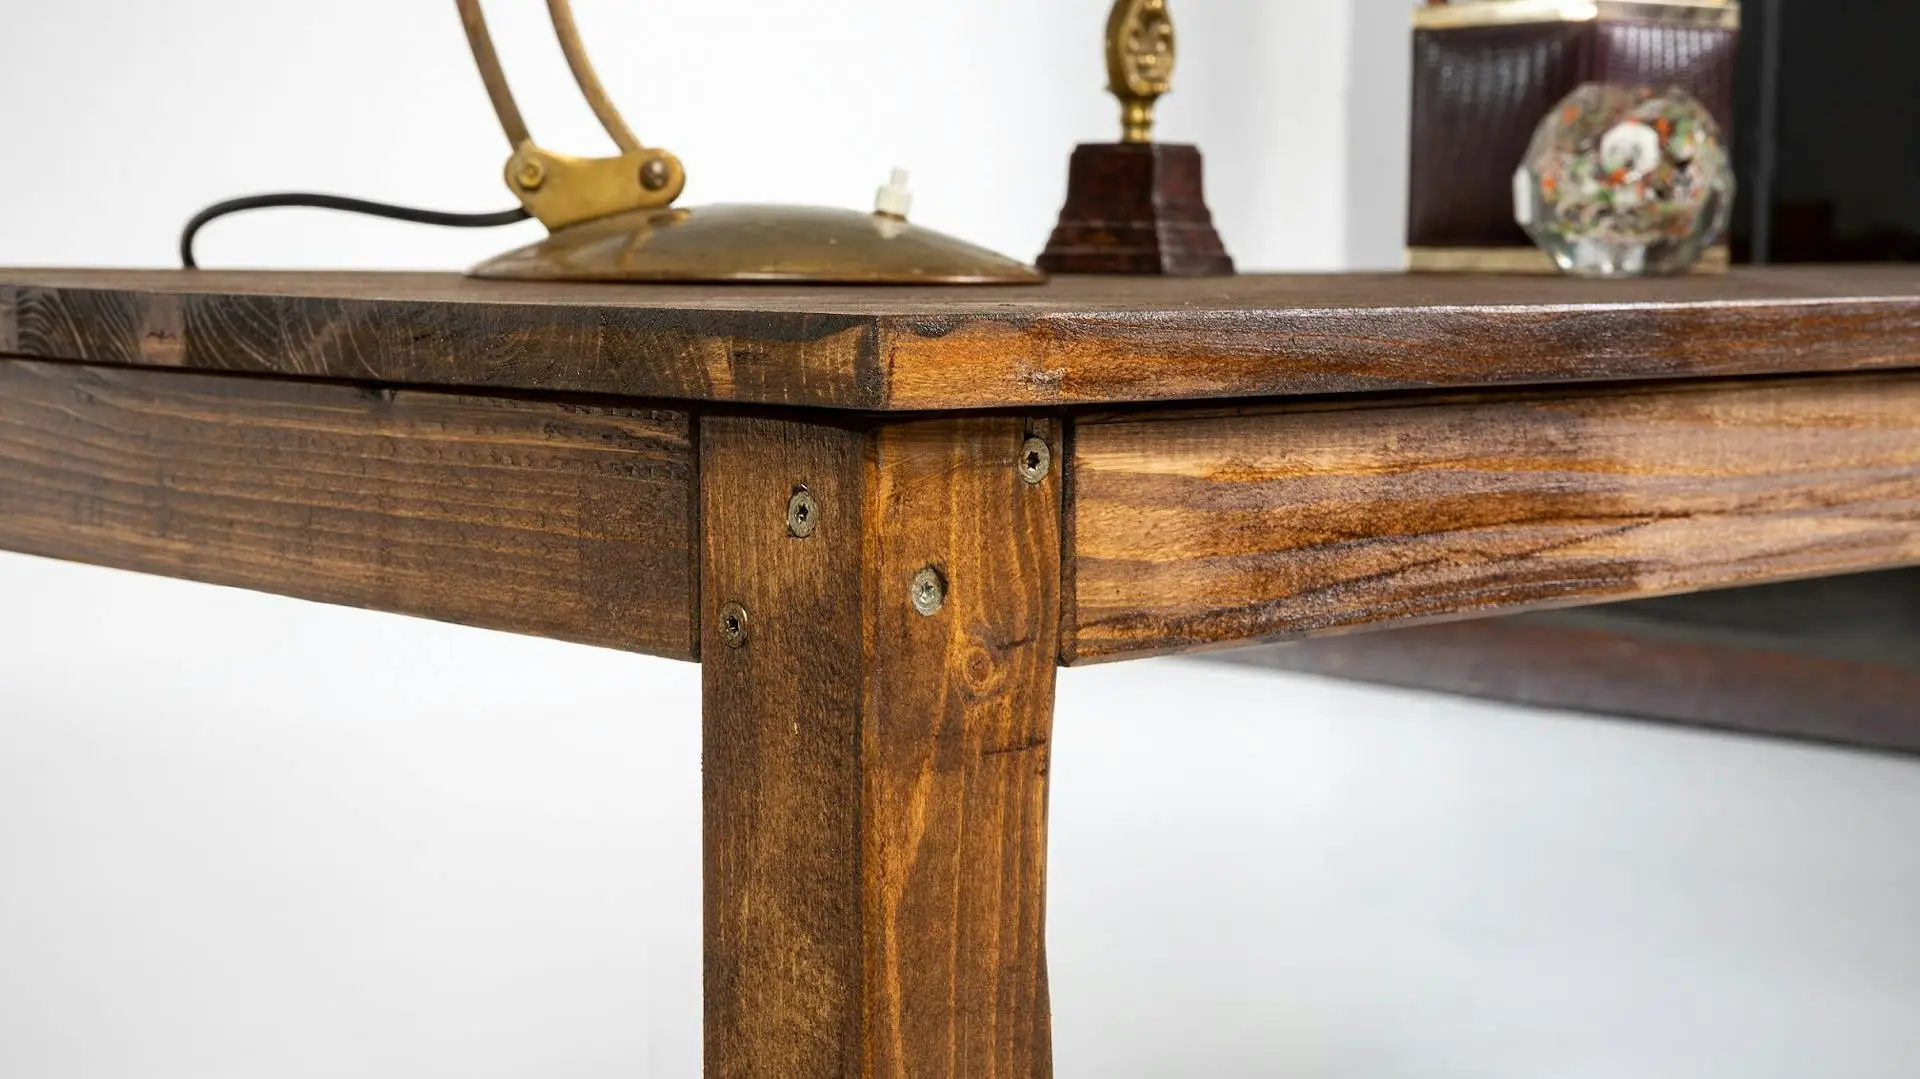
With glazes, you maintain and protect your wooden surfaces. At the same time, you preserve the natural appearance of the wood with its grain. Glazes for indoor use that are harmless to health protect the wood from dirt and water, while glazes for outdoor use additionally protect against weather influences, UV rays, and fungal infestation.
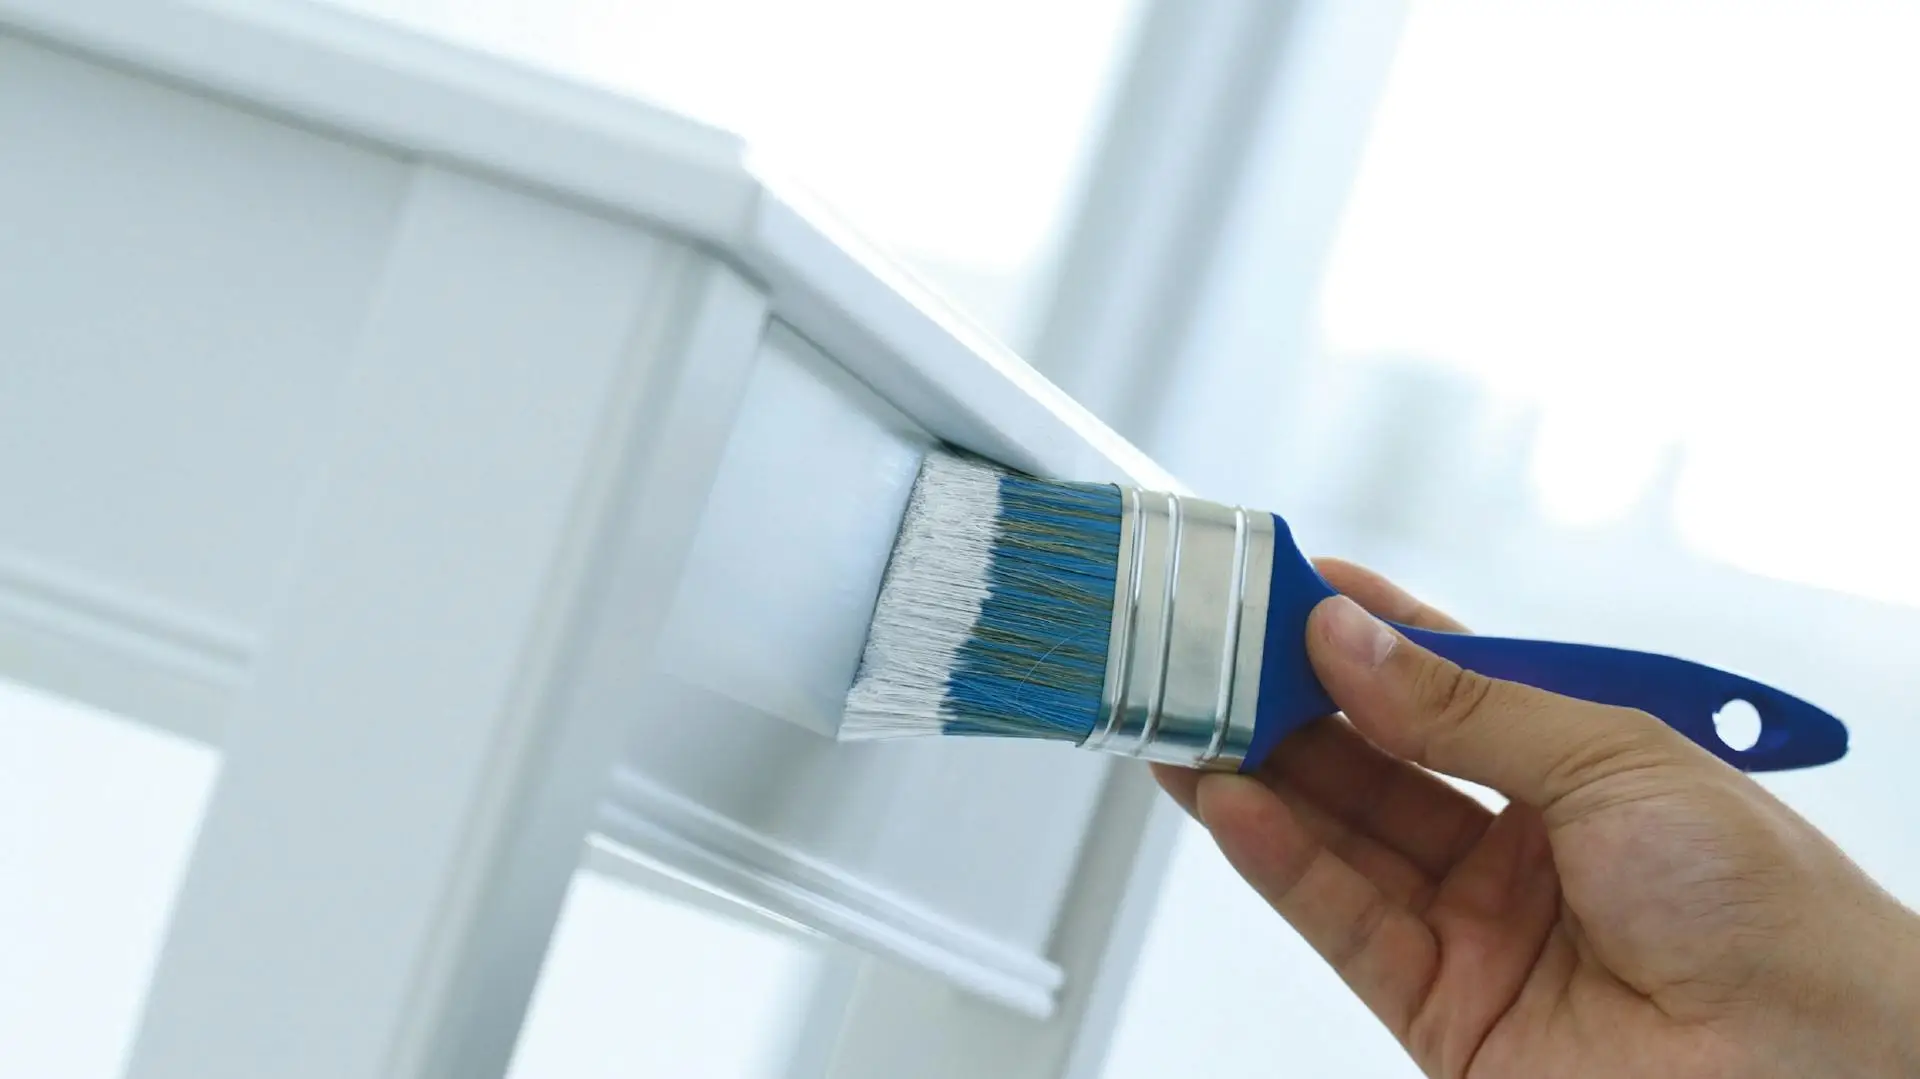
Properly Varnishing and Glazing Furniture
First, prime the wood with a coat of primer paint before applying the actual varnish. Apply each coat of varnish in several thin layers, allowing the paint to dry between coats. Start with the edges and brush along the grain of the wood across the surface. For a particularly fine result, perform a light intermediate sanding between applying individual varnish layers.
For wood glazes, there’s a distinction between thick-film glaze and thin-film glaze. The latter penetrates deeply into the wood and is therefore the first choice for garden fences and similar items. The thick-film glaze, on the other hand, remains on the surface of the wood—similar to varnish—and seals it in a decorative way. The thick consistency provides good protection against moisture for dimensionally stable wooden components such as window frames and doors, and is more commonly used indoors, especially when water-based.
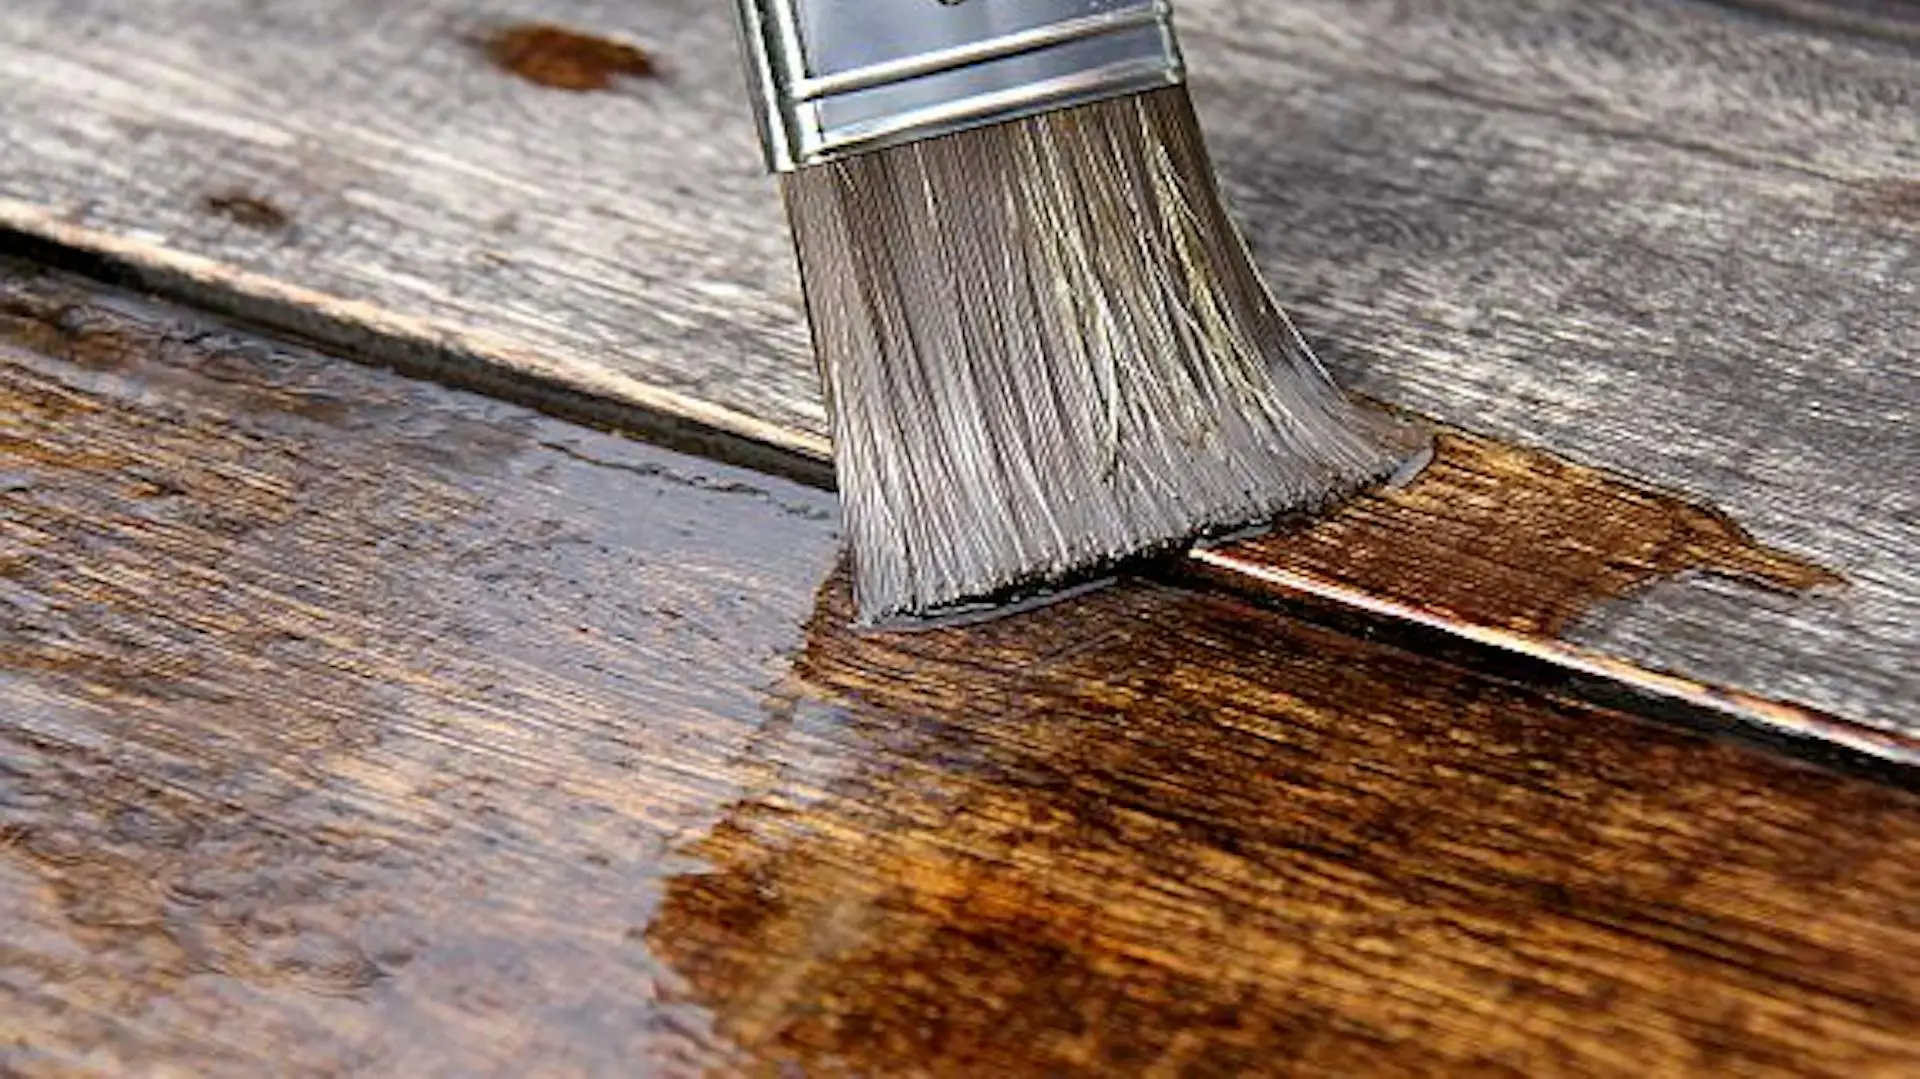
When glazing, also apply the color in a thin coat with long brush strokes to the sanded workpiece and allow it to dry completely afterward. Then sand the surface again with fine sandpaper and apply another layer of glaze following the grain.
Brushes and Clothing – Working Tips
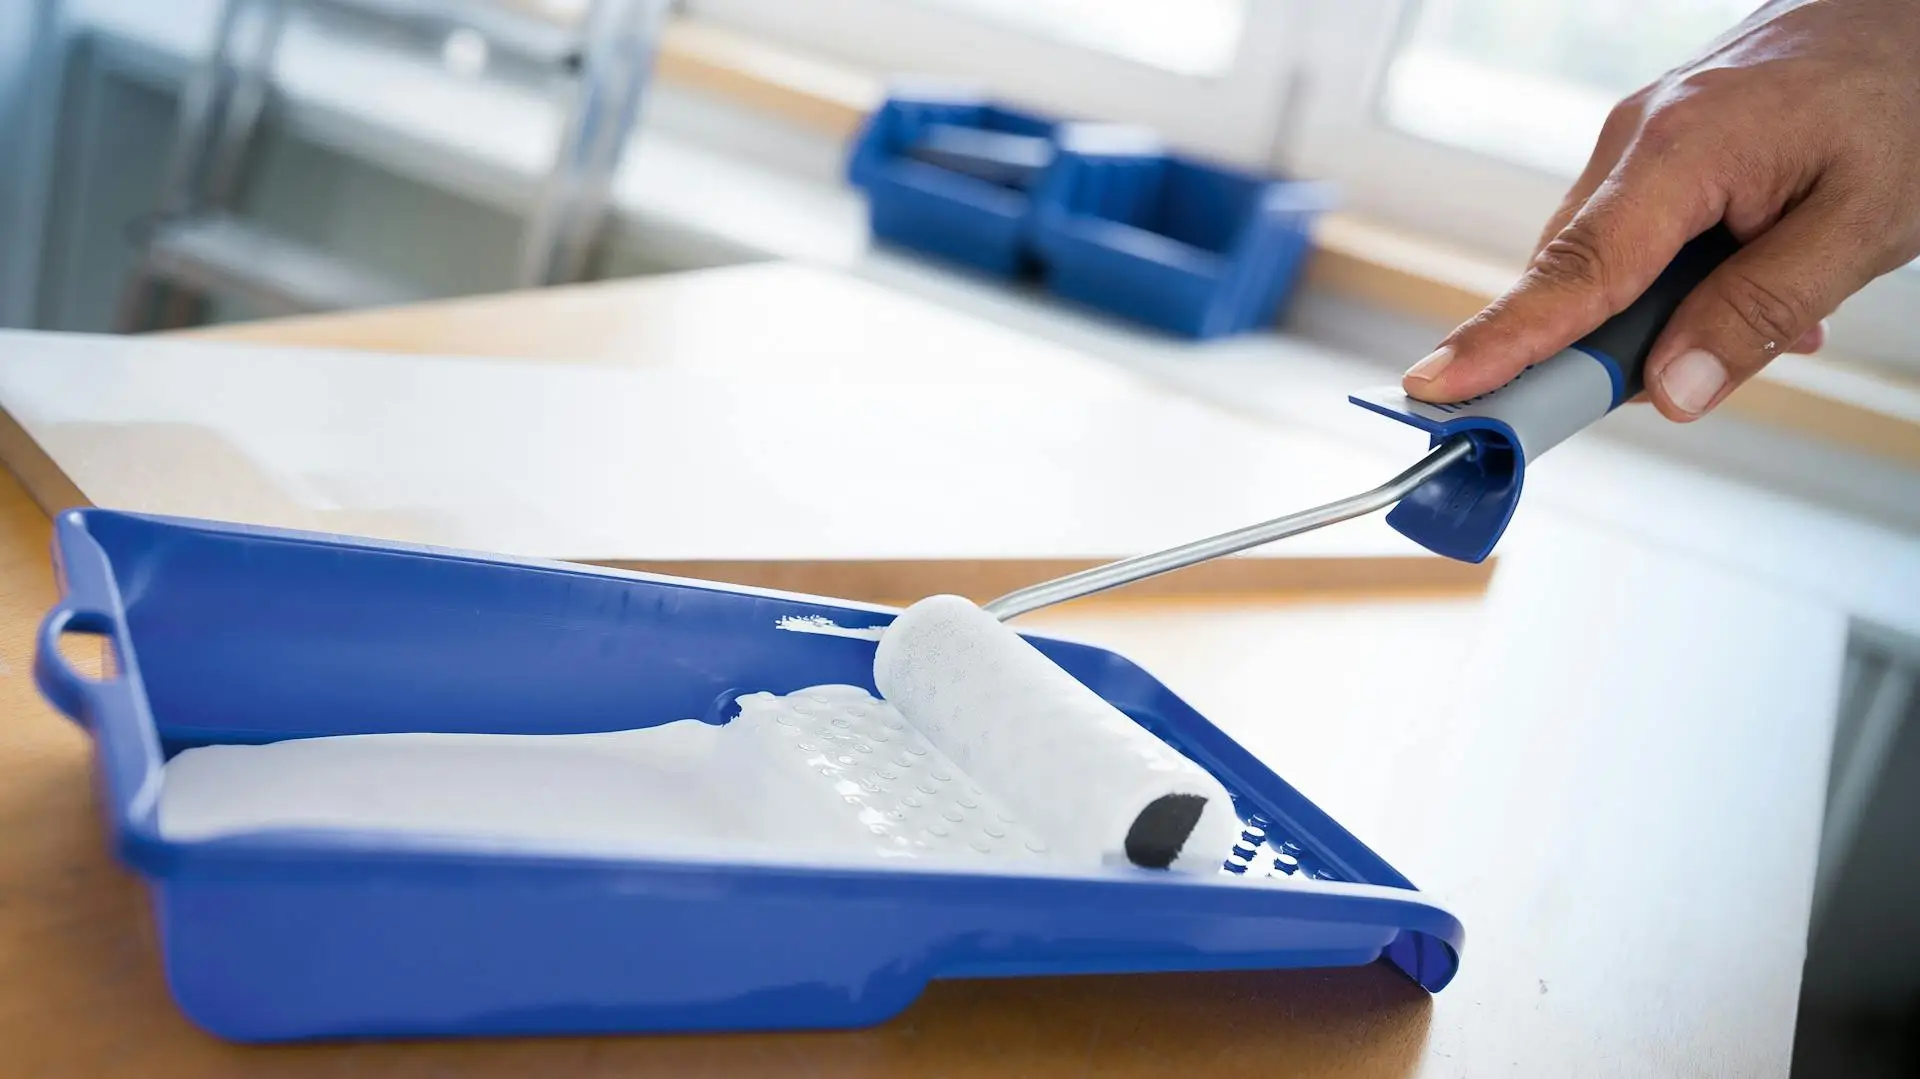
For larger surfaces, use paint rollers or flat brushes. For edges and small surfaces, a brush is the right choice. There are special glaze brushes for applying glazes. Investing in a brush set is usually worthwhile.
Before you start, read the manufacturer’s instructions for varnish and glaze. Also wear appropriate protective clothing. Varnishes, paint strippers, etc. may contain solvents – do not inhale these. Therefore, make sure to work in a well-ventilated room or, better yet, in the open air. Low-irritant varnish is labeled with the “Blue Angel” environmental seal.
Stamp Prints, Triangles, and Circles – Beautifying Wooden Furniture
To add colored accents, you don’t need to paint your entire piece of furniture. Triangles, stripes, and dots in the right place also make your interior design individual. Varnishes and chalk paints are particularly suitable for this as they achieve vibrant colors. Before you start, choose the right colors for your home. Let yourself be guided by the colors that frequently appear in your apartment.
To put your own designs on wood, you can work with stamps and stencils that you make yourself. Paint the stamps and press them firmly on the surface of your furniture. If you choose stencils, apply the paint by dabbing.
Shabby Chic – Beautiful Old Furniture
By selecting the right color, you can give old furniture a new look—or, conversely, give new pieces an antique touch. “Shabby Chic” has been popular for several years and conveys a romantic flea market character. Before working on old furniture, ideally perform some preliminary work to sand off the old paint. If you want to skip this step, work with chalk paints for your shabby chic project. These paints work even without sanding—even on veneered wood.
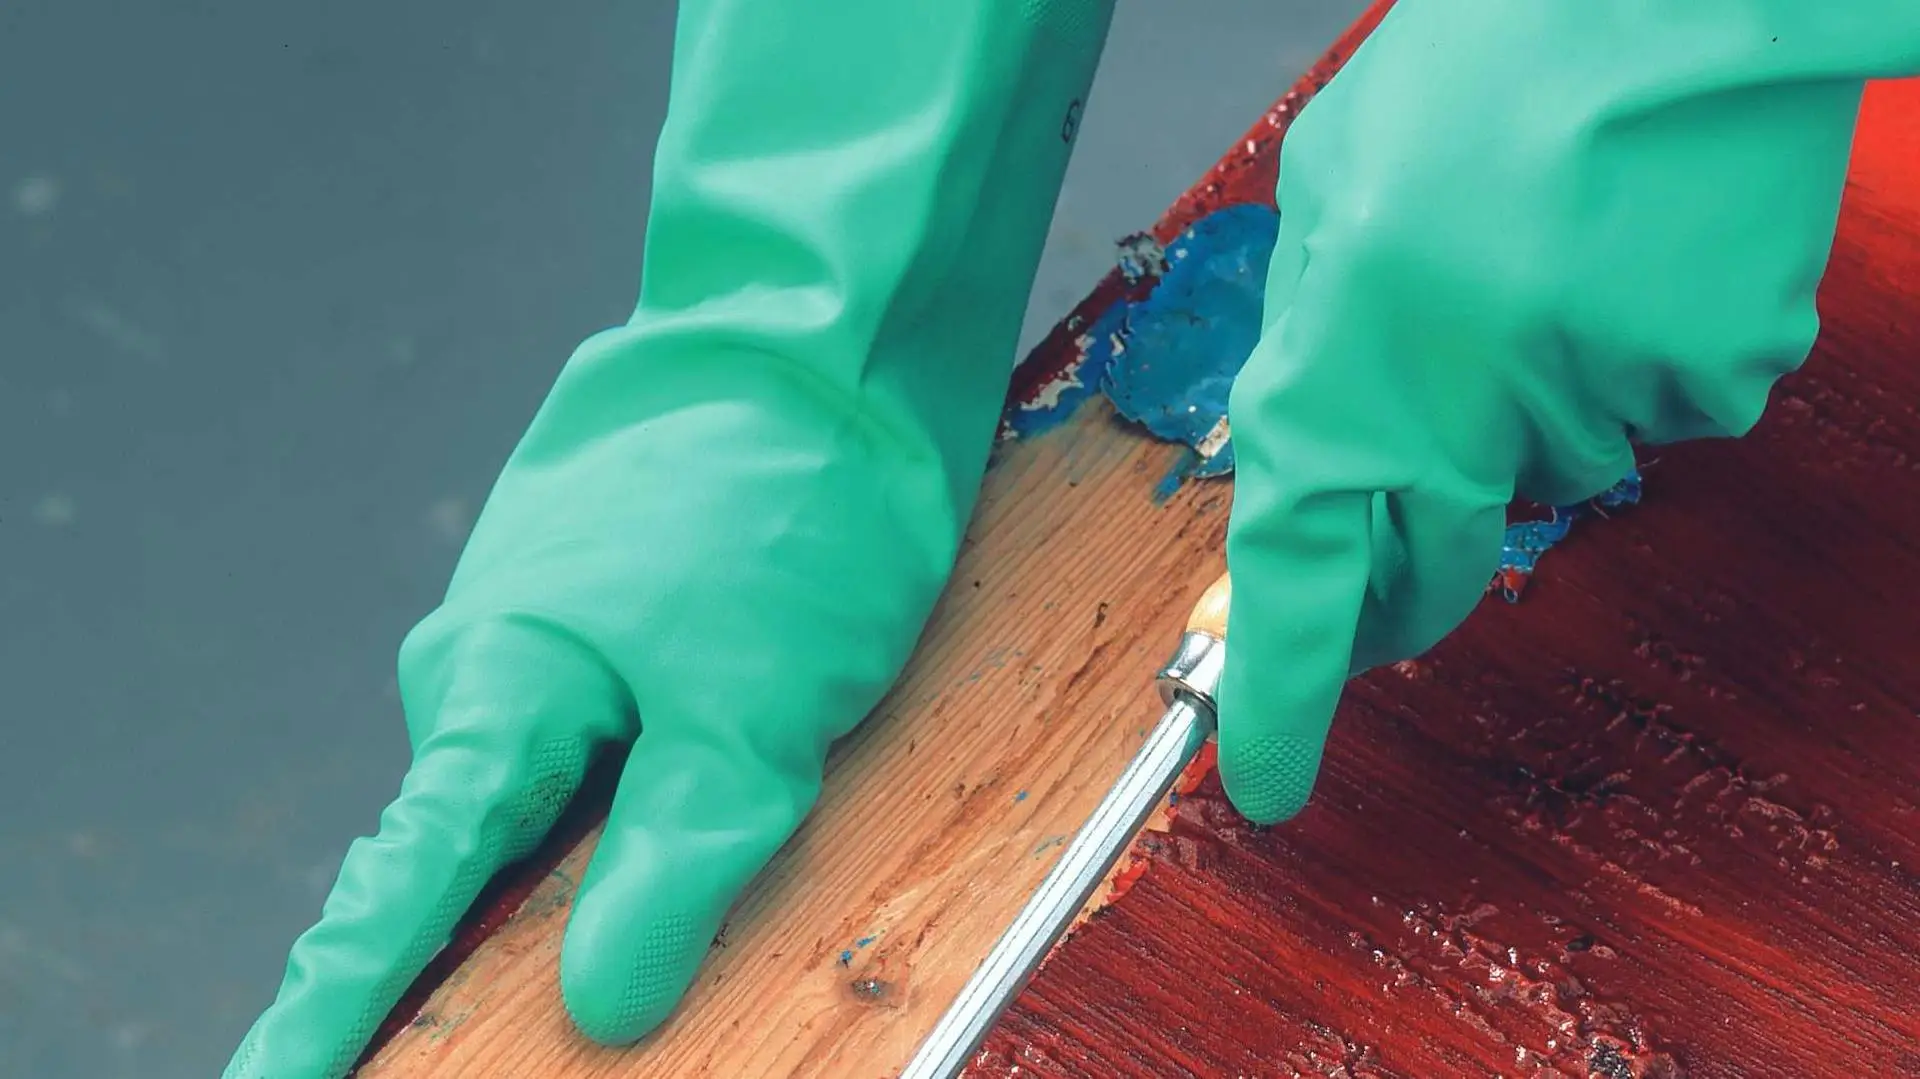
Removing Old Paint from Furniture
If you want to remove old paint, apply a paint stripper. Once the stripper has penetrated, remove the paint with a painter’s scraper. This is relatively quick and not very strenuous, but due to the solvent-containing paint stripper, it’s not every DIYer’s first choice.
In another variant using hot air, you heat the varnish strongly and then remove it with a scraper. Be careful not to singe the wood with the hot air. Toxic fumes can be produced when dissolving the varnish. For this reason, many DIYers swear by removing paint with sandpaper. What remains is dust that must be carefully removed. Because only if the wood is free of dust and grease will the new coat of paint last.
Chalk Paints – Without Sanding and Stripping
Chalk paint is a water-based paint with natural pigments. The paint has strong coverage and gives furniture a powdery look as it dries to a velvety matte finish. The paint is porous and does not penetrate into the pores of the wood.
There are three different ways to use the paint: If you apply it over the entire surface similar to a conventional varnish, it forms a closed color layer. For the typical shabby chic look, you can also lightly sand the surface so that the old wood layer becomes visible. If you prefer, you can also combine two layers of chalk paint: Apply two color layers, of which you lightly sand the upper one. Then the lower one shows through slightly, giving the impression of worn spots.